Short answer: seasoning is a thin, baked-on layer of polymerised oil — it’s what bare cast iron needs to stay non-stick and rust-free, but porcelain-enameled cast iron and stainless steel grates don’t need it. Any new grill benefits from an initial burn-off (typically 15–30 minutes on high, lid closed, before your first real cook) to clear manufacturing residue, whether or not the grates themselves get oiled afterward.
Most “how to season your grill” advice online treats every grate the same way, and that’s where it goes wrong. The right routine depends entirely on what your grates are made of — get that wrong and you can strip a porcelain finish trying to “season” it, or leave bare cast iron to rust because nobody told you it needed oil. Here’s the honest breakdown, by material.
Does your grill actually need seasoning?
This is the fork in the road most pages skip. Check your grate material first — it changes everything that follows.
| Material | Season? | Notes |
|---|---|---|
| Bare cast iron | Yes — and re-season regularly | Rusts fast without a maintained oil layer; oil lightly after every clean |
| Porcelain-enameled cast iron | No — don’t scour or bake-season it | The enamel coating is the protective layer; manufacturers (Weber included) say it will never need seasoning — scraping or heavy oil-baking risks chipping the enamel |
| Stainless steel | Optional, light oiling only | No seasoning layer to build; a light coat before cooking is purely for stick-release |
If you’ve got porcelain-enameled or stainless grates — which covers most mid-range and premium gas grills sold today — you can skip straight to the burn-off step below and stop there. Telling every reader to season every grate is the easy, wrong answer; the honest one is that most modern grills don’t need it at all.
How to season a grill (and burn off a new one), step by step
1. Identify your grate material first
Check your owner’s manual or look for a description like “porcelain-enameled cast iron,” “cast iron,” or “stainless steel.” This decides whether you’re seasoning at all or just burning off and brushing — don’t skip it.
2. Burn off a brand-new grill before its first real cook (15–30 minutes)
With the lid closed, run any new grill on high for 15–30 minutes to clear manufacturing residue, oils and coatings — check your manual, since times vary by brand (roughly 15–20 minutes for many gas grills, up to 45 minutes on some pellet grills). This step applies to every grate material, seasoned or not.
3. Cool and wipe down
Let the grill cool, then wipe the grates with a dry cloth or paper towel to clear loosened residue. Porcelain-enameled and stainless owners are done here — brush before your next cook as normal and move on.
4. Bare cast iron only: choose a high-smoke-point oil
Grapeseed (around 390–420°F) and refined canola (around 400°F and up) are the common, affordable choices; refined avocado oil runs even higher (480°F+) if you want extra margin. Skip standard olive oil — its smoke point is lower and less consistent across grades, which makes it the wrong tool here even though it’s a fine cooking oil elsewhere.
5. Apply a thin coat, then wipe off the excess
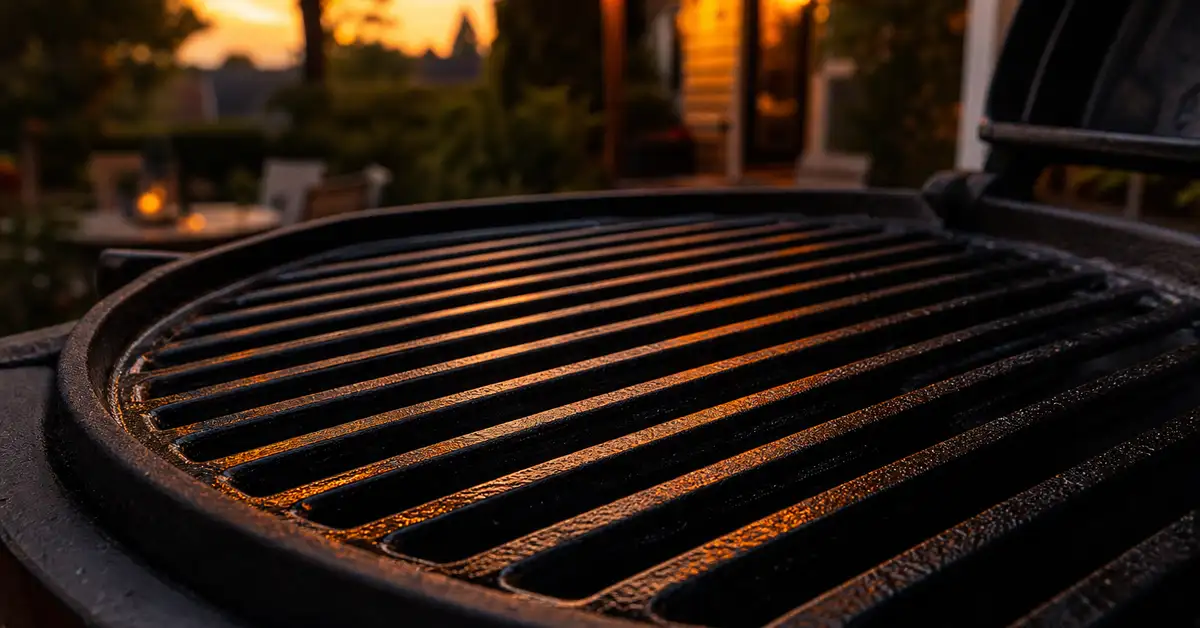
Using a cloth or paper towel, spread a thin film of oil over the grate — then wipe off as much as you can see. This is the step people get wrong: too much oil doesn’t season, it turns into a sticky, tacky varnish instead of a hard, smooth layer.
6. Bake it on (350–400°F, roughly 30–40 minutes)
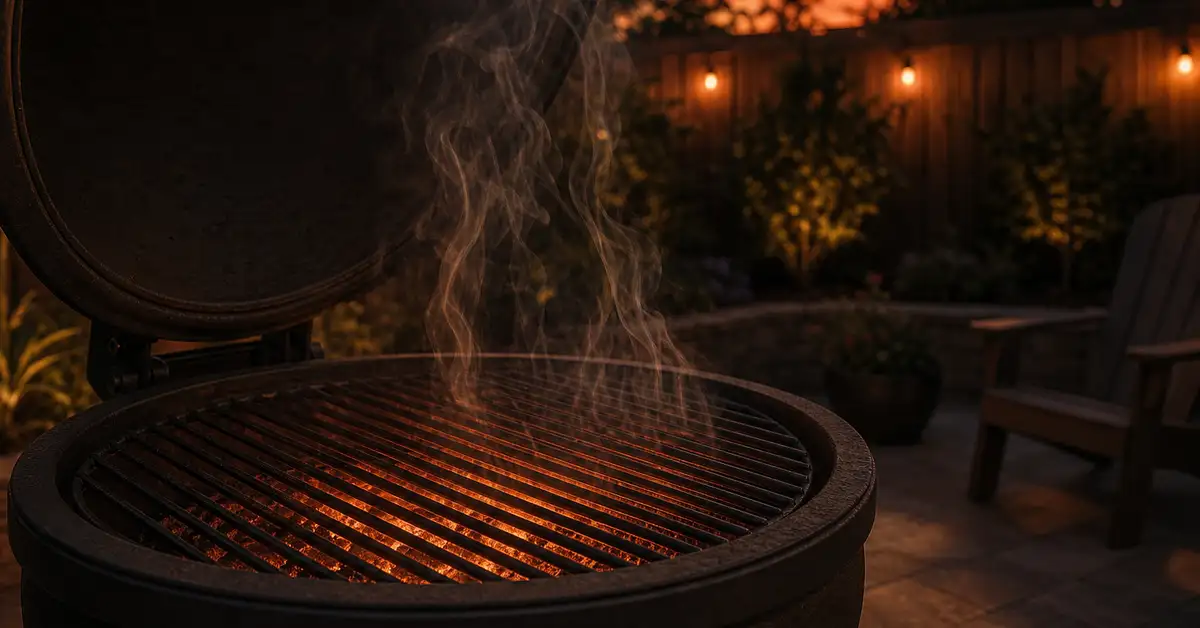
Close the lid and hold the grill at 350–400°F for about 30–40 minutes to polymerise the oil into the grate’s surface. A little smoke during this stage is normal.
7. Let it cool, then repeat 2–3 times for a new grate
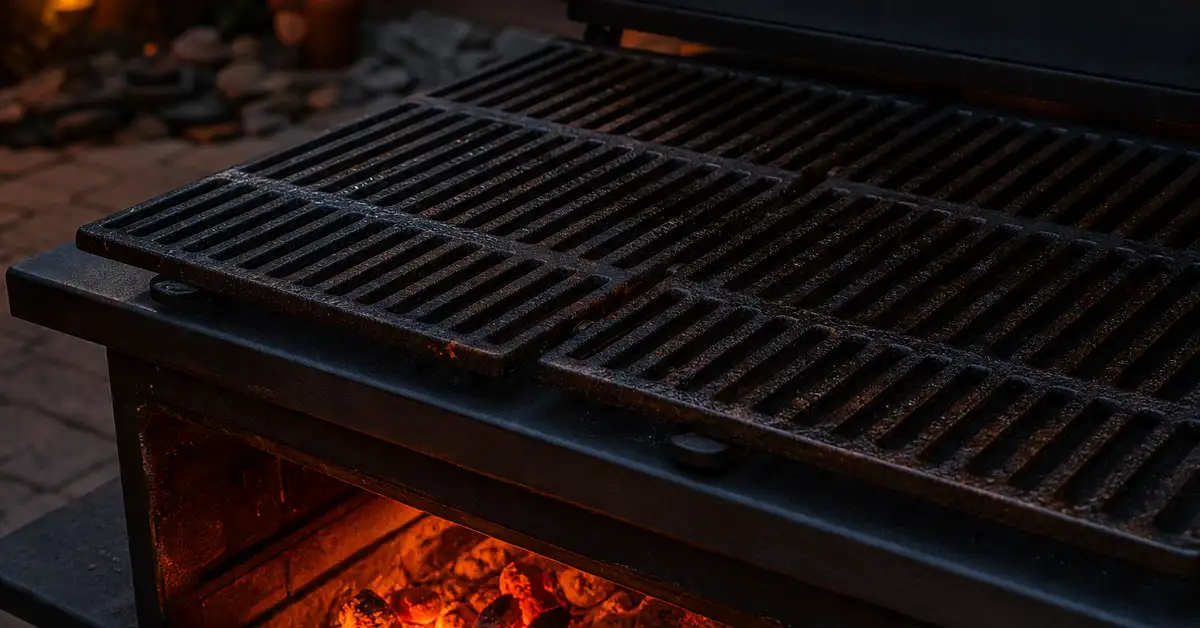
A single coat is a start, not a finish. Cool, then repeat the thin-oil-and-bake cycle two or three more times on a brand-new bare cast iron grate to build a durable, dark, non-stick surface.
8. Maintain it: re-oil after deep cleans or rust
Bare cast iron needs a light re-oiling any time you deep-clean it, after it’s been soaked in water, or if you spot the dull orange of surface rust starting — catch rust early with a light scrub and a fresh thin coat rather than letting it spread.
The most common mistake: too much oil
Seasoning fails almost always come down to over-oiling. A heavy coat can’t fully polymerise in the bake cycle, so it stays gummy and attracts dust and grease instead of releasing food. The fix is counterintuitive the first time you do it: apply the oil, then wipe until the grate looks almost dry before it goes back on the heat. If your grates come out of a seasoning session sticky rather than smooth and matte, you used too much oil — scrub it back and redo the bake cycle with a thinner coat.
Safety: smoke, carbon monoxide and oily rags
A burn-off or seasoning bake produces real smoke and fumes, so treat it like any other high-heat cook: outdoors only, never in a garage, shed or other enclosed space — running any fuel-burning grill indoors is a genuine carbon-monoxide risk, and a gas burn-off is no exception. Give the grill the clearance from siding, railings and anything flammable that your manual specifies, and never leave a burn-off or bake cycle unattended.
If you’re running a gas grill, leak-check the connections with a soapy-water solution — look for bubbles, never test with an open flame — before every use and especially after changing the tank.
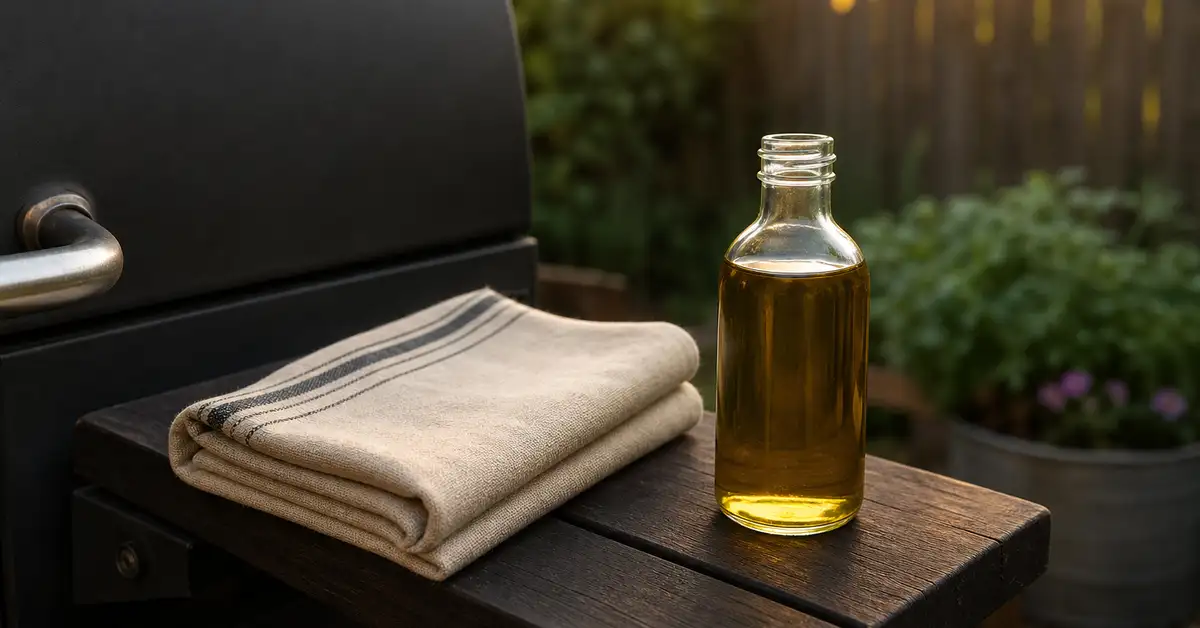
The cloths and paper towels you use to apply and wipe off seasoning oil are a real fire hazard on their own: oil-soaked rags and paper towels can heat up and ignite on their own if they’re balled up or piled while the oil is still curing. Fire-safety guidance (NFPA and equivalent sources) is consistent on this — either lay them out flat, individually, on a non-combustible surface outdoors until they’re fully dry and stiff, or submerge them in water inside a sealed metal container before disposal. Never ball them up and toss them straight in a trash can.
The gear that makes it easier
Beyond the grill itself, one thing is worth having on hand: a high-smoke-point oil you keep specifically for this job, rather than reaching for whatever’s open in the kitchen. It’s also the point where a good instant-read meat thermometer earns its keep — the same care-and-maintenance mindset applies to checking temperature as it does to checking your grates.
Transparency first: This guide contains affiliate links. If we’re enrolled in an affiliate program, we may earn a commission at no extra cost to you — it never affects how we research or rank. Read our full affiliate disclosure policy.
Check high-smoke-point seasoning oil on Amazon →
Seasoning is the day-one step; keeping a grill running well after that comes down to routine upkeep — see our how to clean grill grates guide for the material-first grate cleaning and rust-removal routine, our how to clean a grill guide for the rest of the grill, and our best grill covers guide for protecting it between cooks. New to gas grills specifically? Our best small & portable gas grills guide and best pellet grills for beginners guide cover what to look for before you buy. If it’s a pellet grill and this is your first cook, see our how to use a pellet grill walkthrough. Got a flat-top griddle instead of grates? See our how to season a Blackstone griddle guide for that surface specifically. Our How We Choose page explains the research behind every recommendation on this site.
Frequently asked questions
Do you need to season a new grill?
Every new grill benefits from an initial burn-off — running it on high for 15–30 minutes with the lid closed to clear manufacturing residue. Whether you also need to season the grates with oil depends on the material: bare cast iron needs it, porcelain-enameled cast iron and stainless steel don’t.
Do porcelain-enameled grill grates need to be seasoned?
No. Manufacturers including Weber are explicit that porcelain-enameled cast iron grates never need seasoning, because the enamel coating itself is the protective, low-stick layer. Scouring or heavy oil-baking these grates risks chipping the enamel rather than helping it.
What’s the best oil for seasoning cast iron grill grates?
A high-smoke-point oil works best — grapeseed (roughly 390–420°F) and refined canola (around 400°F and up) are common, affordable choices, and refined avocado oil (480°F+) gives extra margin. Standard olive oil isn’t ideal, since its smoke point is lower and varies more by grade.
How long do you burn off a new grill before cooking on it?
Plan on 15–30 minutes on high with the lid closed, though it varies by brand and fuel type — some pellet grills call for a longer initial burn-off, up to around 45 minutes. Check your owner’s manual for the exact figure for your model.
How often should you re-season cast iron grill grates?
Re-oil lightly any time you deep-clean bare cast iron grates, after they’ve been soaked in water, or as soon as you notice the first signs of surface rust. Regular light maintenance after cleaning is easier than fixing rust once it’s set in.
Why did my seasoning come out sticky instead of smooth?
Almost always too much oil. A heavy coat can’t fully polymerise during the bake cycle and stays tacky instead of hardening. Scrub the grate back, apply a genuinely thin coat — wiped until it looks almost dry — and repeat the bake.
Are oil-soaked paper towels from seasoning a fire hazard?
Yes. Rags and paper towels soaked in drying oils can heat up and ignite on their own if they’re balled up or piled while the oil is still curing. Lay them flat outdoors on a non-combustible surface until fully dry and stiff, or submerge them in water in a sealed metal container before disposal — never ball them up in a bin.
Do stainless steel grill grates need oiling?
Not for protection — stainless steel has no seasoning layer to build. A light coat of oil before cooking is purely optional, for easier food release, not maintenance.
Sources
Seasoning and grate-care guidance verified against Weber — Do My Cast Iron Cooking Grates Need to Be Seasoned?, Weber — How to Care For Your Cast Iron Cooking Grates and Weber — How to Clean Stainless Steel Grill Grates. Smoke-point figures verified against smoke-point reference data and UC Davis Food Quality — Olive Oil Myths and Facts. Burn-off timing cross-checked against Traeger and Char-Broil manufacturer guidance. Oily-rag fire-safety guidance from the National Fire Protection Association — Safety with Oily Rags and the Massachusetts Department of Environmental Protection — Disposing of Oily Rags, with the underlying hazard also documented by the U.S. Consumer Product Safety Commission.